|
|
|
Images Derwent Hideaway - Hobart
Photo Gallery
Outside
| Image (Click for higher resolution image if available) |
Description |
Image (Click for higher resolution image if available) |
Description |
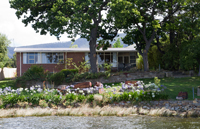 |
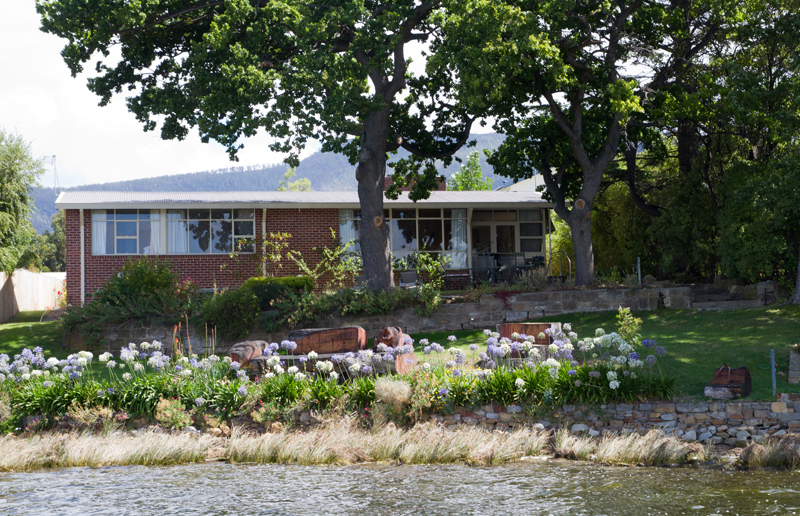
Derwent Hideaway from river. |
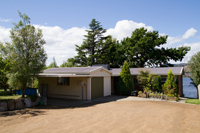 |
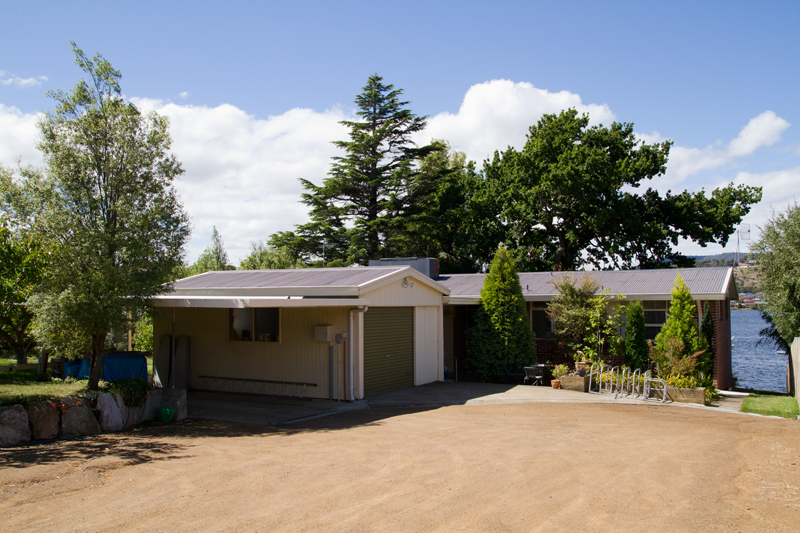
Derwent Hideaway entrance. |
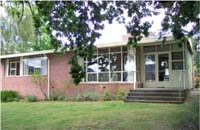 |
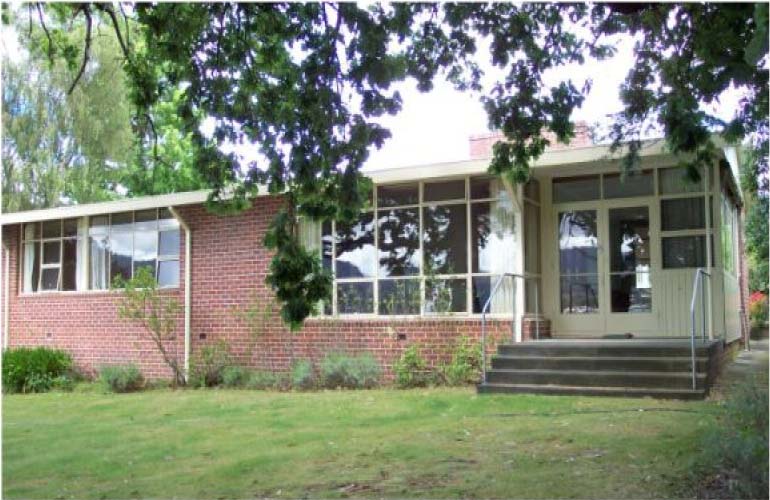
Derwent Hideaway from river garden. |
|
|
Inside
| Image (Click for higher resolution image if available) |
Description |
Image (Click for higher resolution image if available) |
Description |
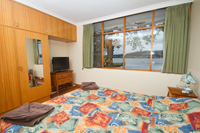 |
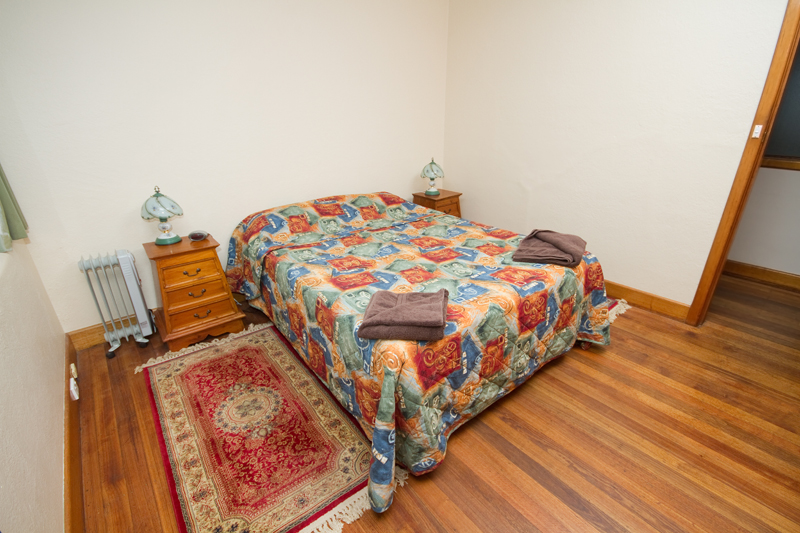
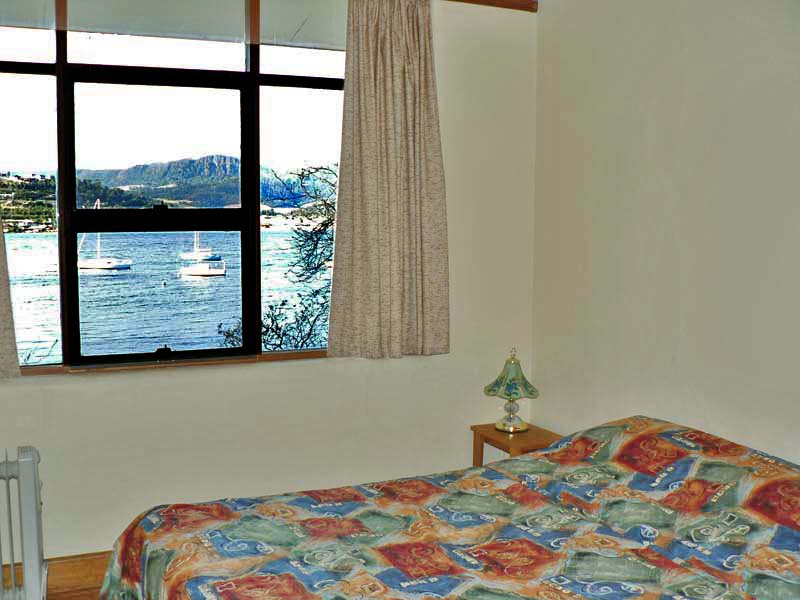
Master bedroom with views and queen sized bed. Brand new mattress, LCD TV, clock radio, phone, plenty of built ins. |
 |
Master bedroom with queen sized bed. Brand new mattress, LCD TV, clock radio, phone, plenty of built ins. |
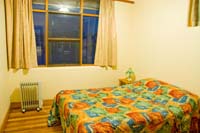 |
Second bedroom in the evening with double bed and plenty of built ins. |
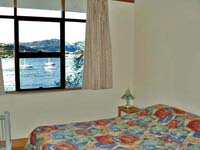 |
Second bedroom with views and plenty of built ins. |
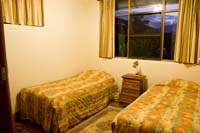 |
Third bedroom with two single sized beds and plenty of built ins during the evening. |
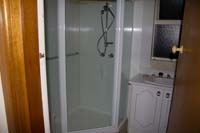 |
Bathroom. Freshly painted, fan, heaters, shower. |
 |
The fold bed in the north dining area. |
 |
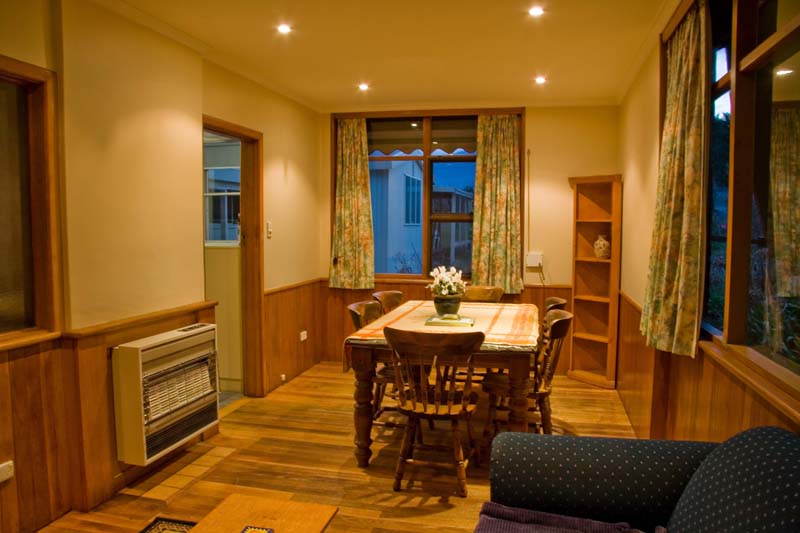
Dining area in the evening looking north towards river. |
 |
Dining room in the evening. Heater. |
 |
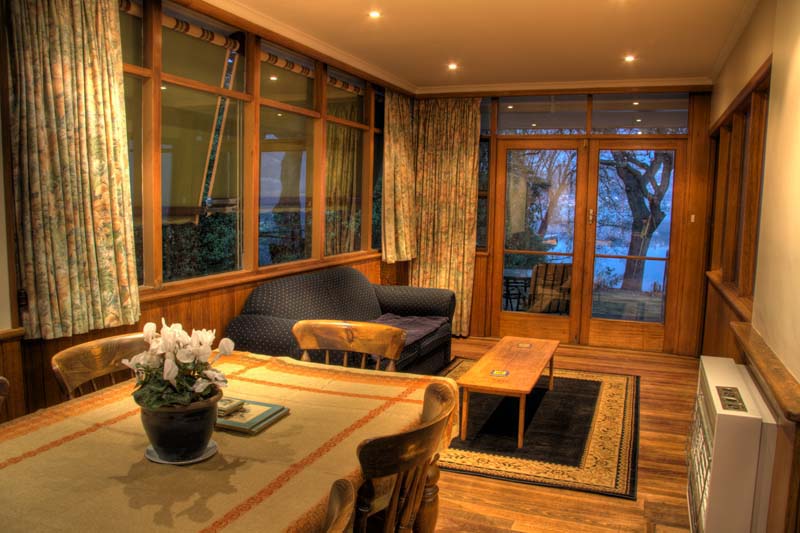
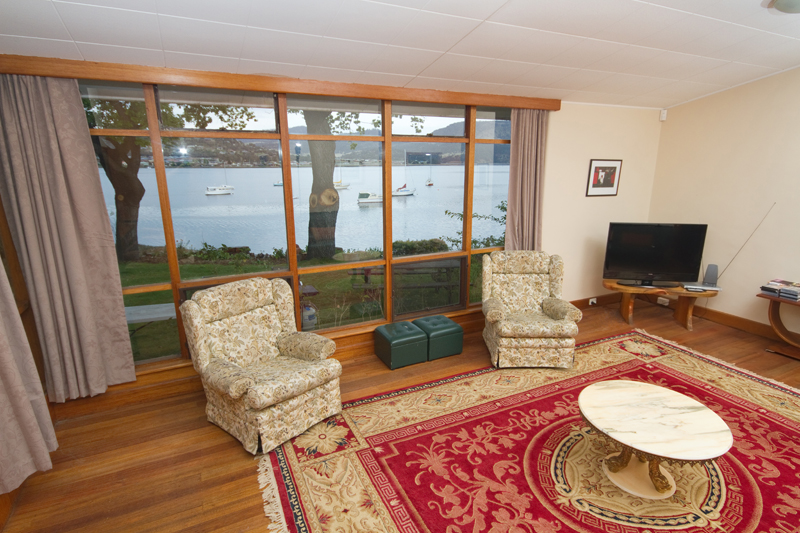
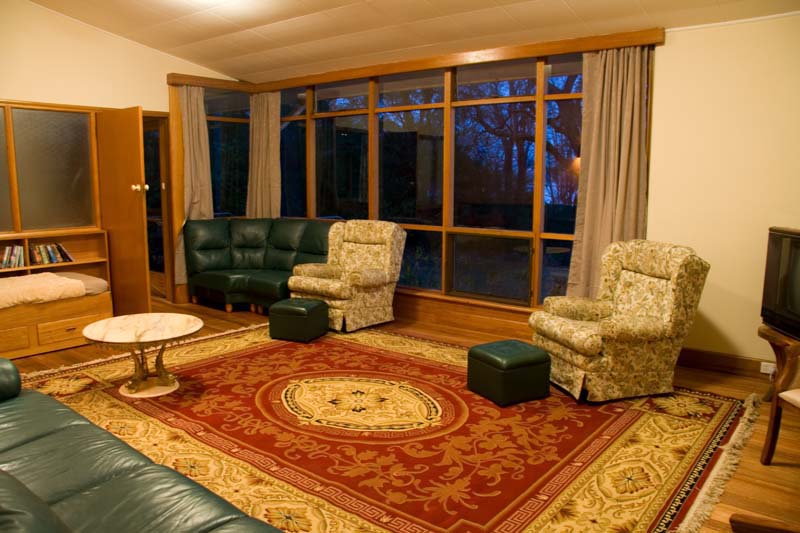
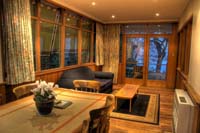
Sitting room in the evening. Magnificent views, electric stove heater, large LCD TV. |
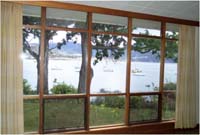 |
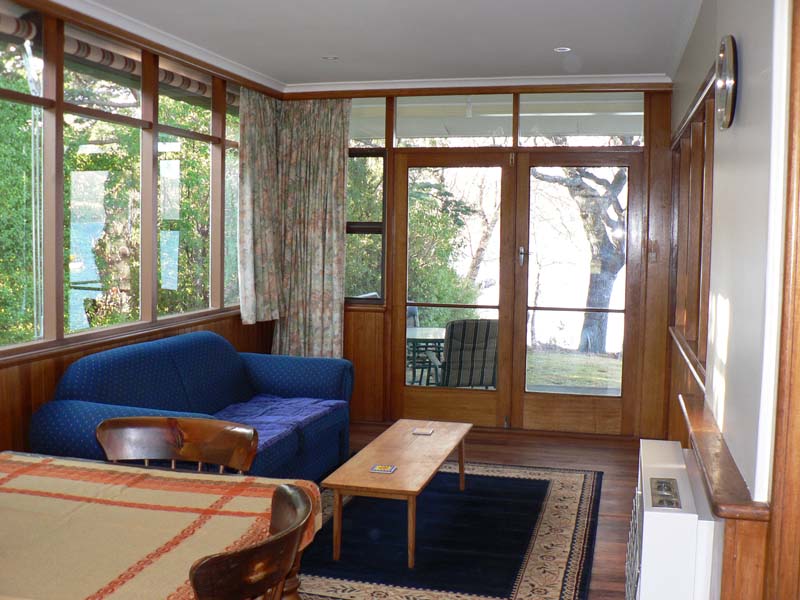
Sitting room with magnificent views of yachts at anchor. |
 |
Sitting room in the evening. Magnificent views, electric stove heater, large LCD TV. |
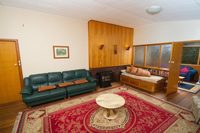 |
Sitting room. Magnificent views, electric stove heater, large LCD TV.. |
 |
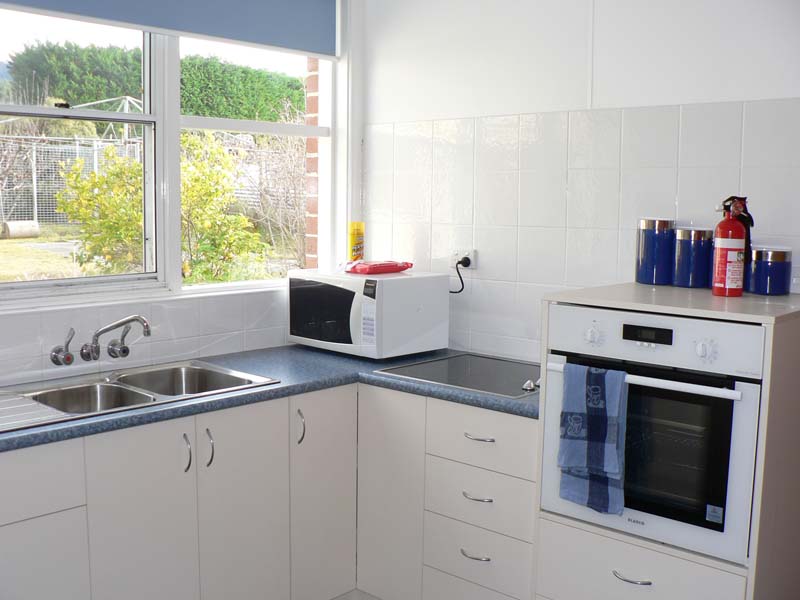
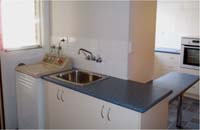
Modern, fully equipped kitchen. |
 |
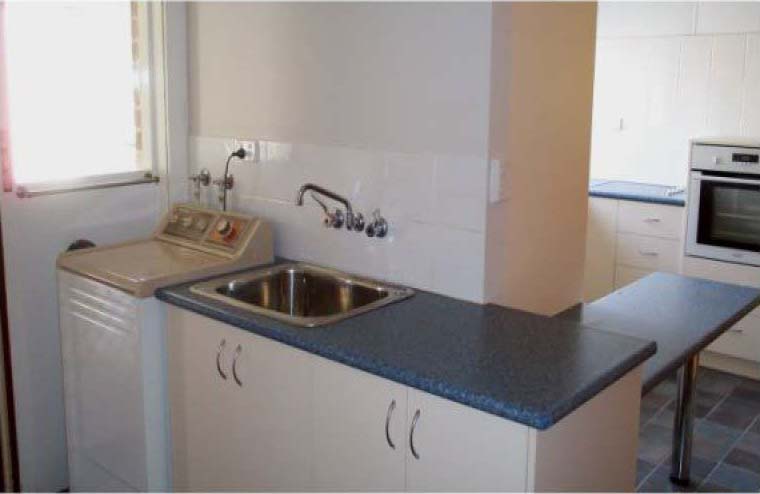
Modern fully equipped laundry. |
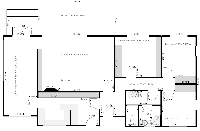 |
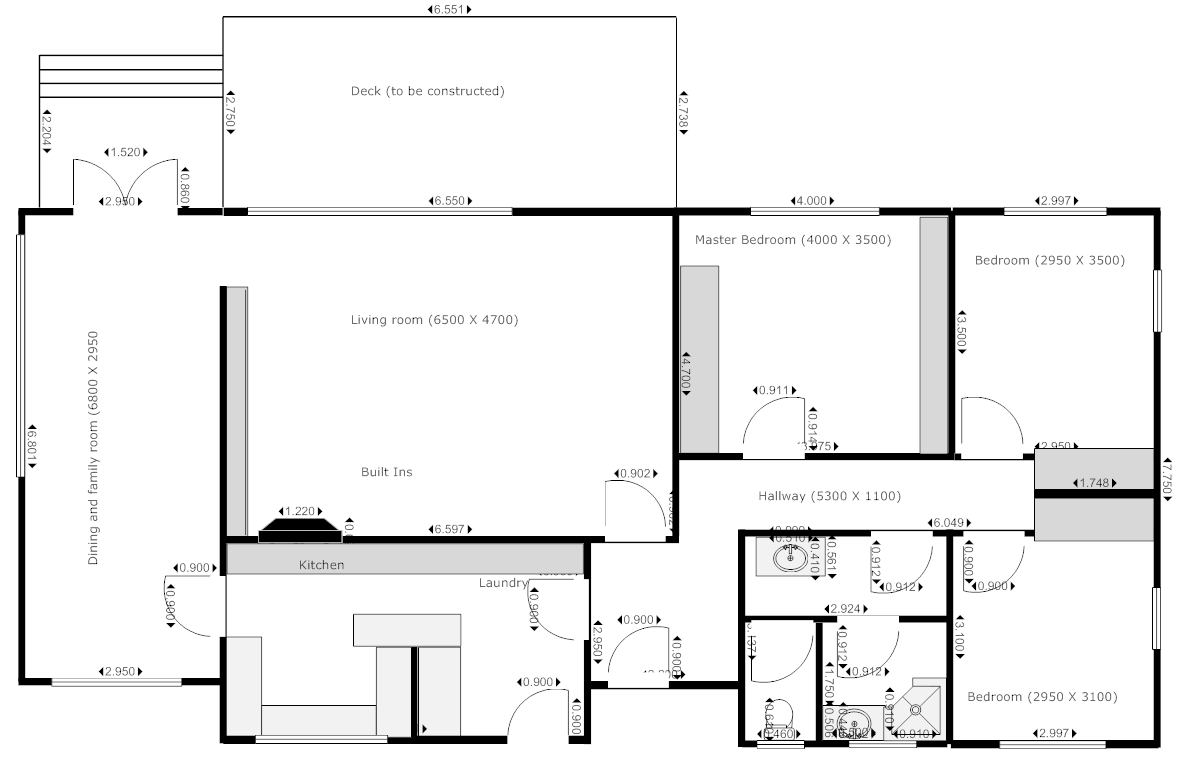
House plan. |
Garden & Views
| Image (Click for higher resolution image if available) |
Description |
Image (Click for higher resolution image if available) |
Description |
 |
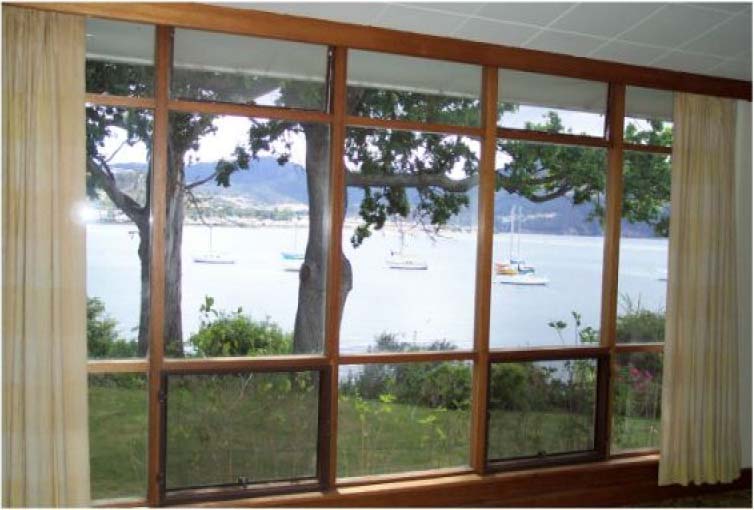
The view of Mt Direction and yachts on their moorings from Derwent Hideaway. |
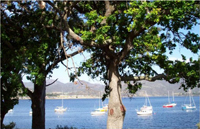 |
The view through an ancient oak and a huge gum tree. |
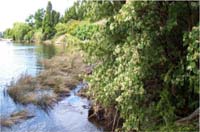 |
View along the shore from Derwent Hideaway. |
|
|
|
|
|